- Museum: The Allard Pierson
- Exhibition: https://allardpierson.nl/en/events/the-call-of-the-oo/
- Workshop: Climate changers, impact makers
- My role: Help design and make the 3D prints for the workshop
- First run: September 2024
The exhibition is about the impact of humans on nature and how artists have reflected on this topic over the last centuries. The workshop is for kids in secondary school, who create their own work on this topic.
My sister Janneke (Instagram), who works at the museum, asked me to assist with the 3D prints for the workshop.
I’ll share some insights and a lot of pictures on how this project came to be. Since my responsibility was on the 3D printing aspect, I’ll mostly focus on that.
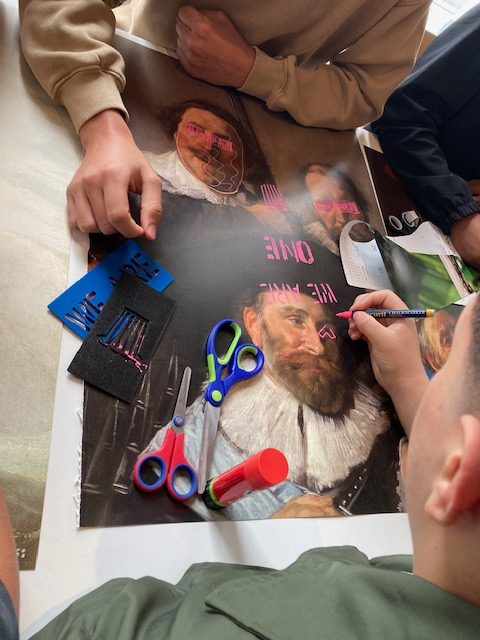
How the prints are used
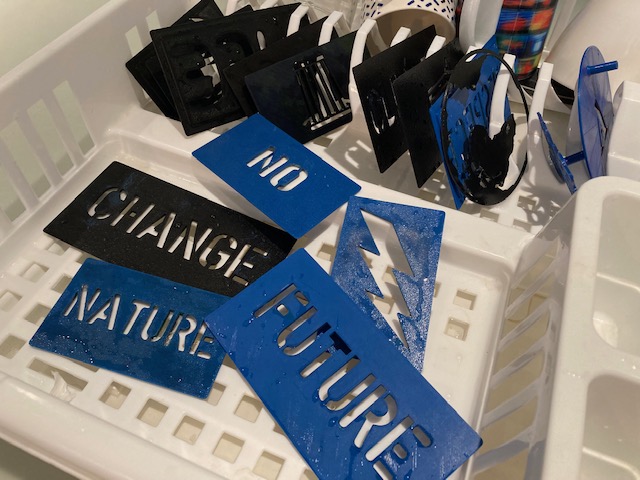
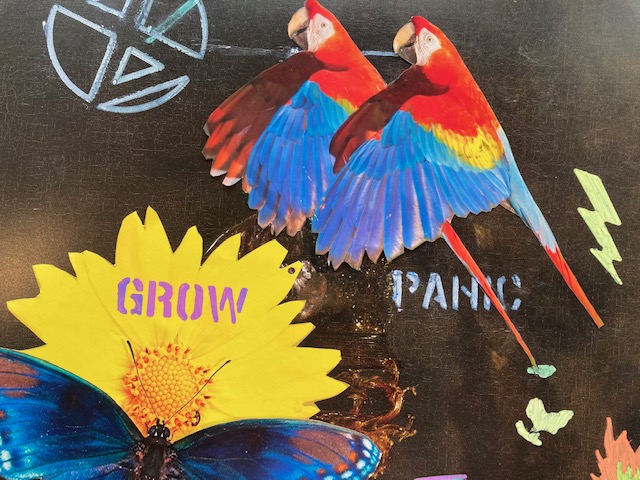
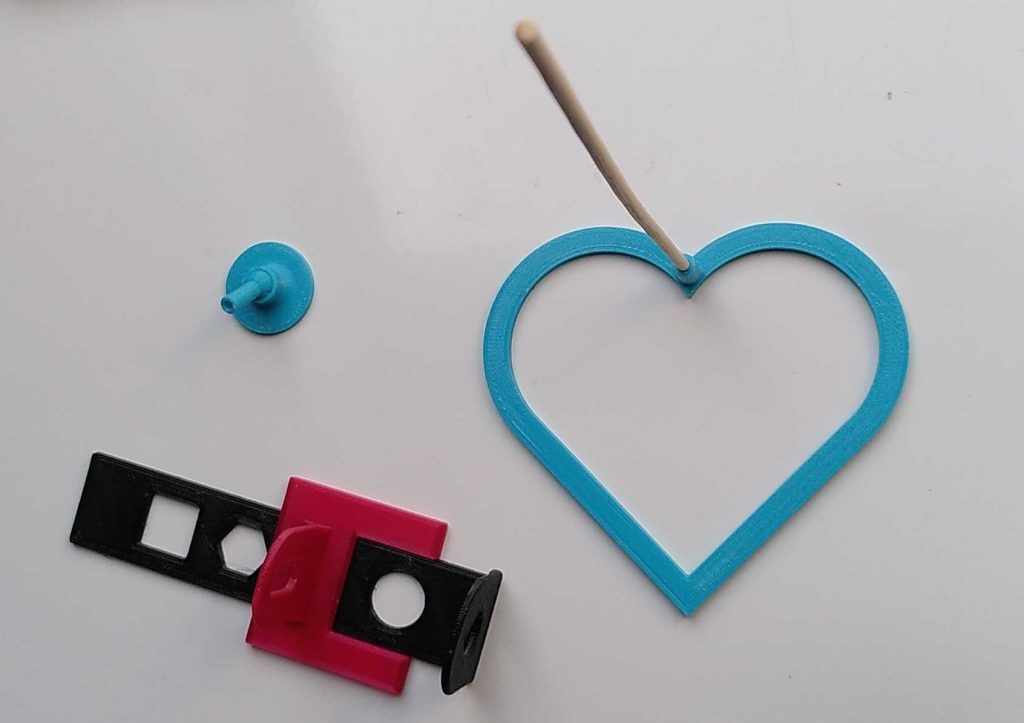
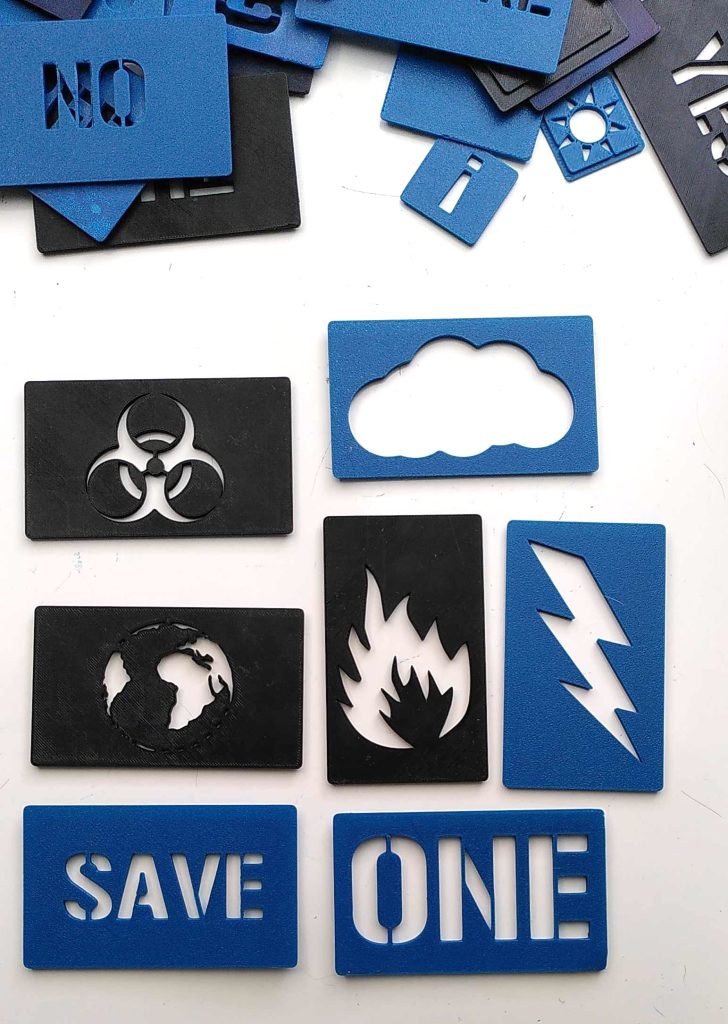
I’ve designed and printed templates that help to quickly draw symbols or words using chalk spray or chalk markers.


The tools, experiments and choices behind the prints
While it was clear from the start we didn’t want to use regular paint. I was eager to try out spray painting some old 3D prints to see what I could learn.
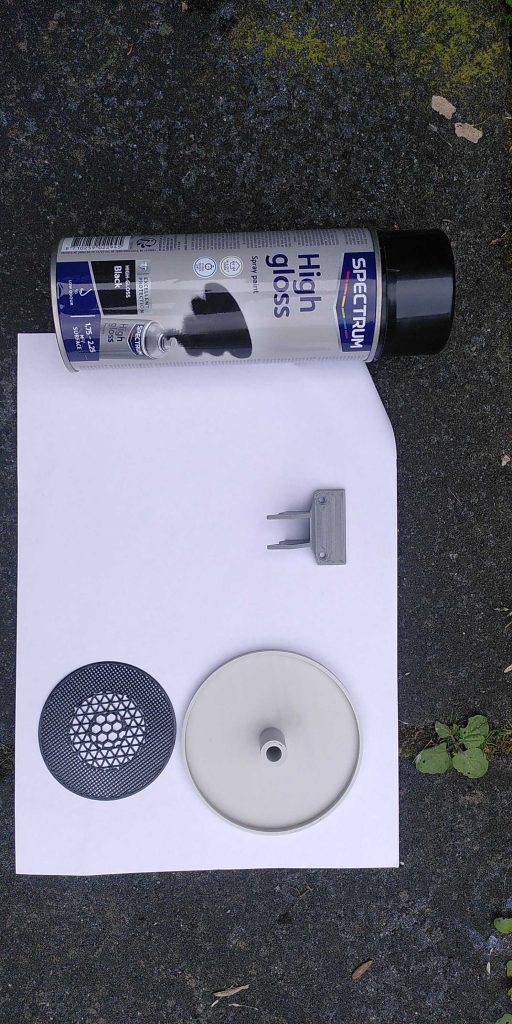
Some lessons:
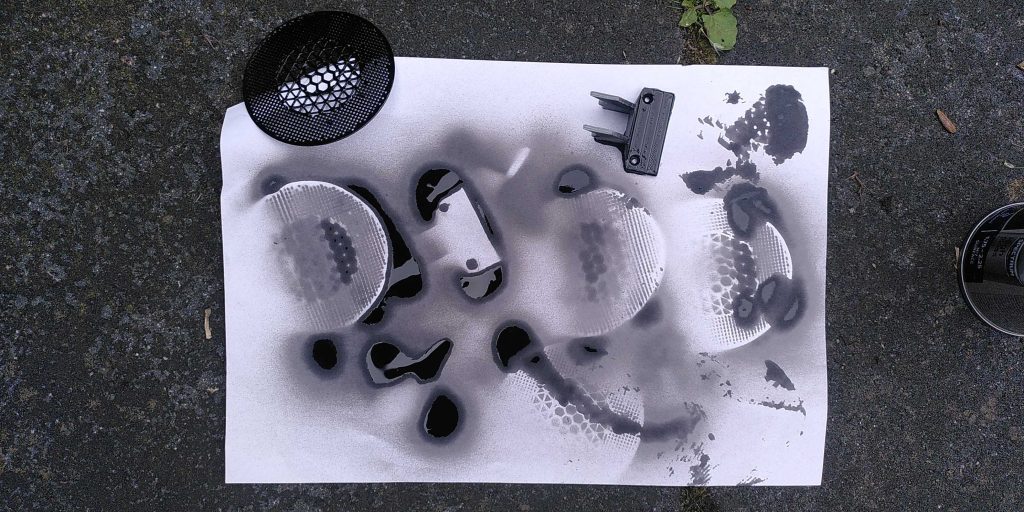
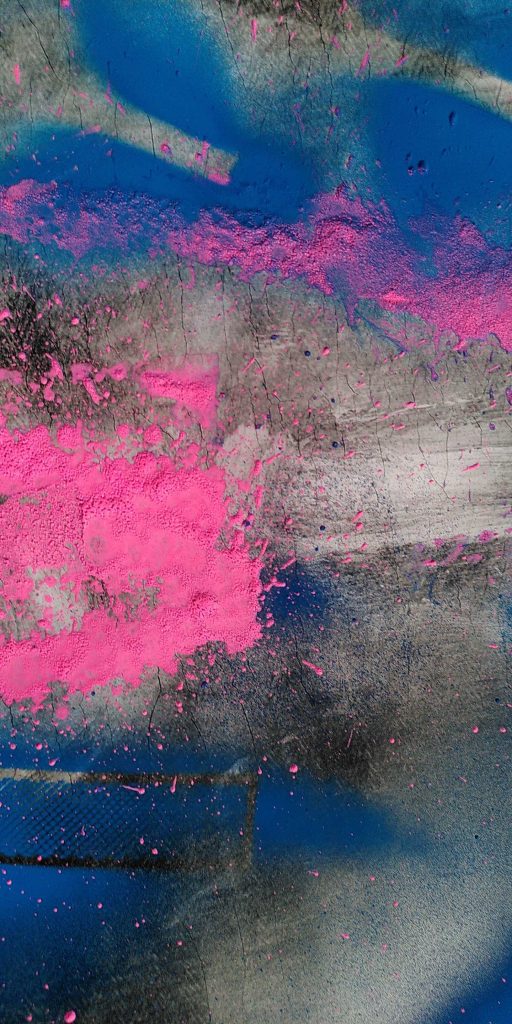
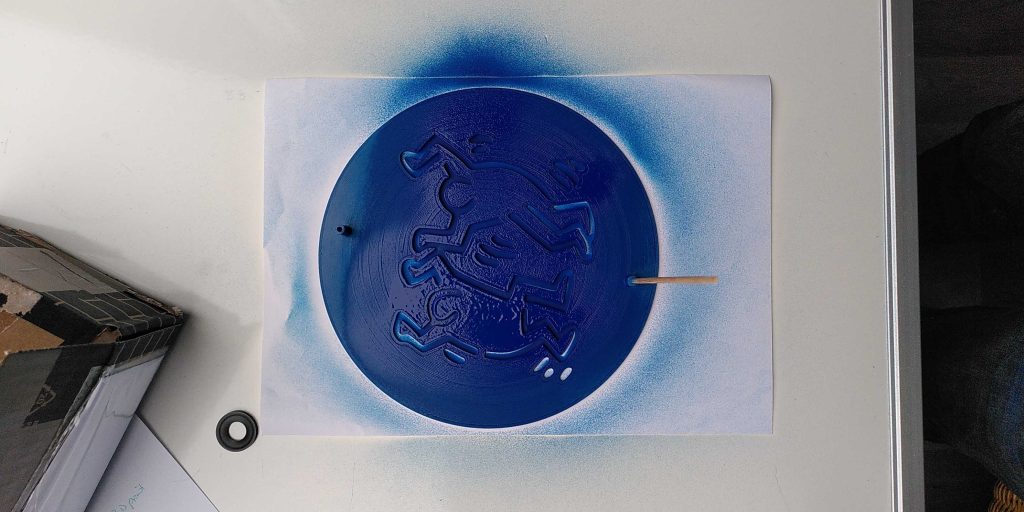
- You easily spray too much and it gives a mess.
- You have to push the printed template fully to the paper, otherwise you’ll get blurry images.
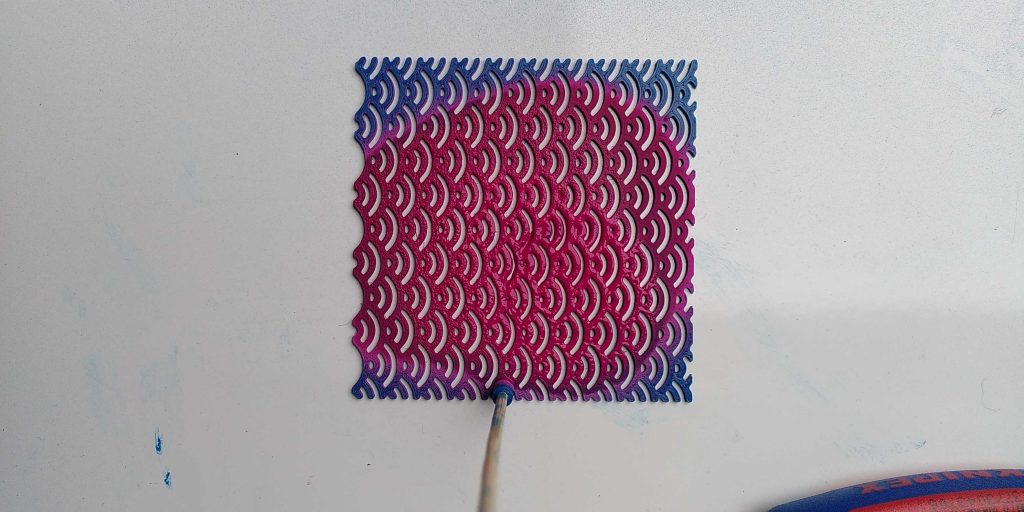
- You can show some fairly detailed patterns.
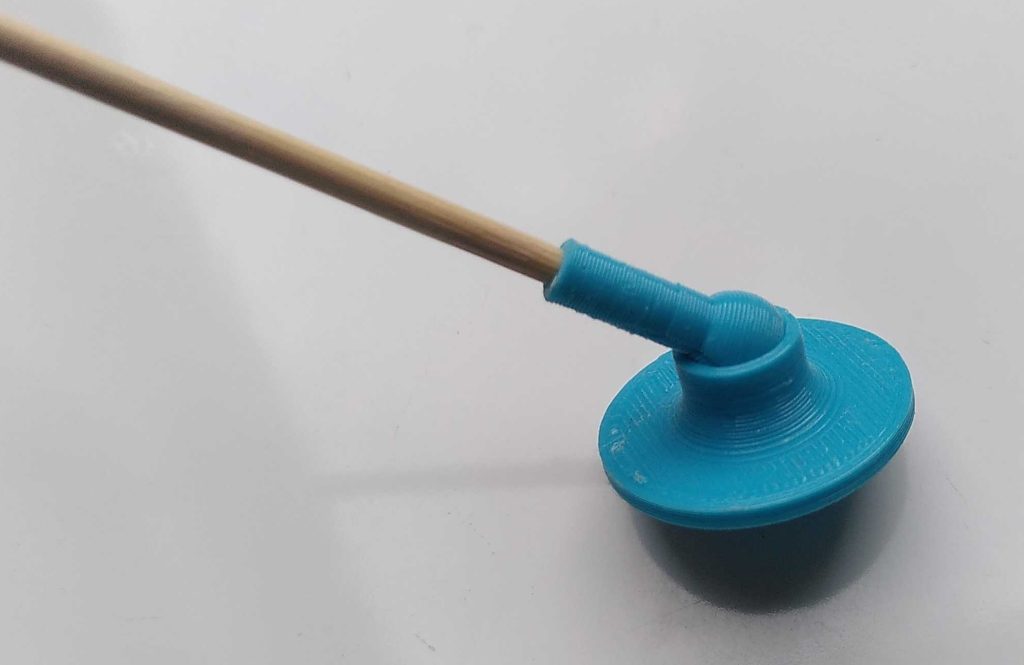
I started to worry a bit about dripping paint and how people should hold the prints. So I designed and printed some handles.
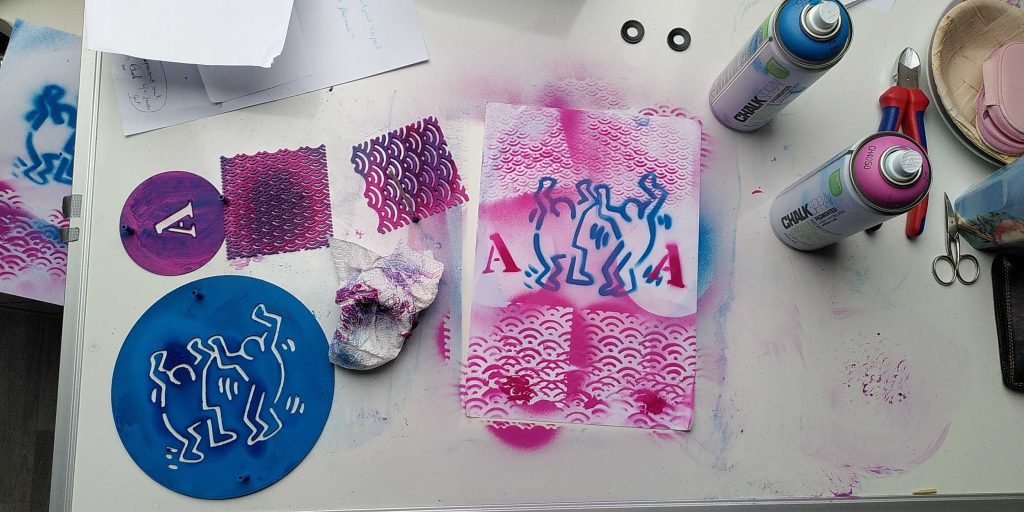
It could work. My sister quickly ordered chalk spray so we could learn more about it.
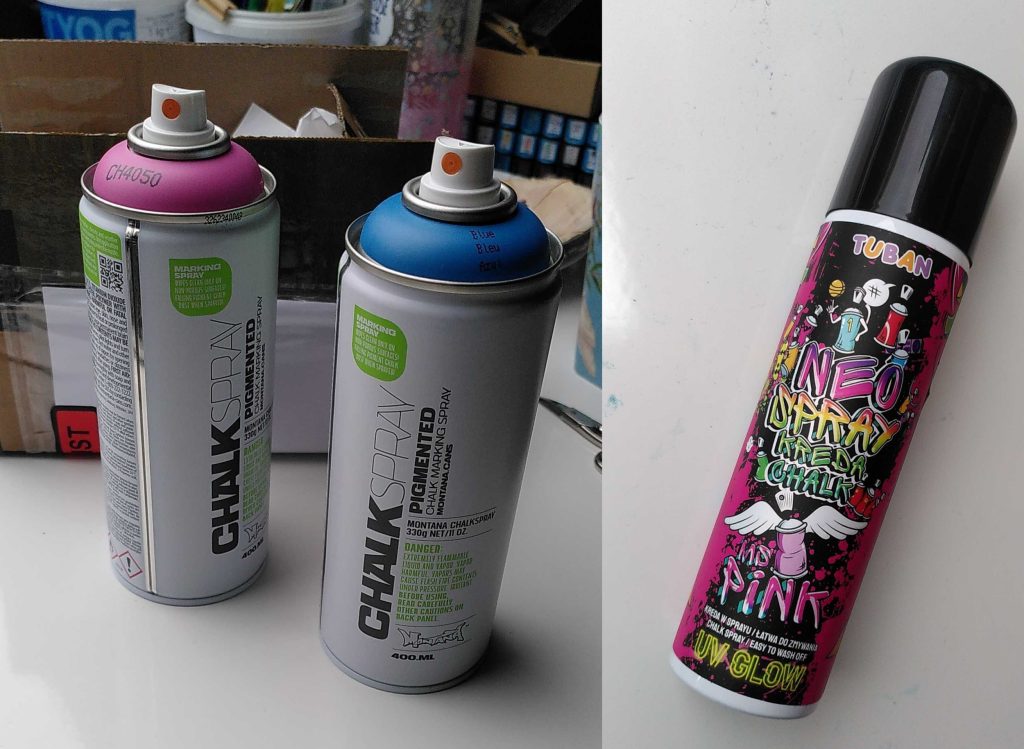

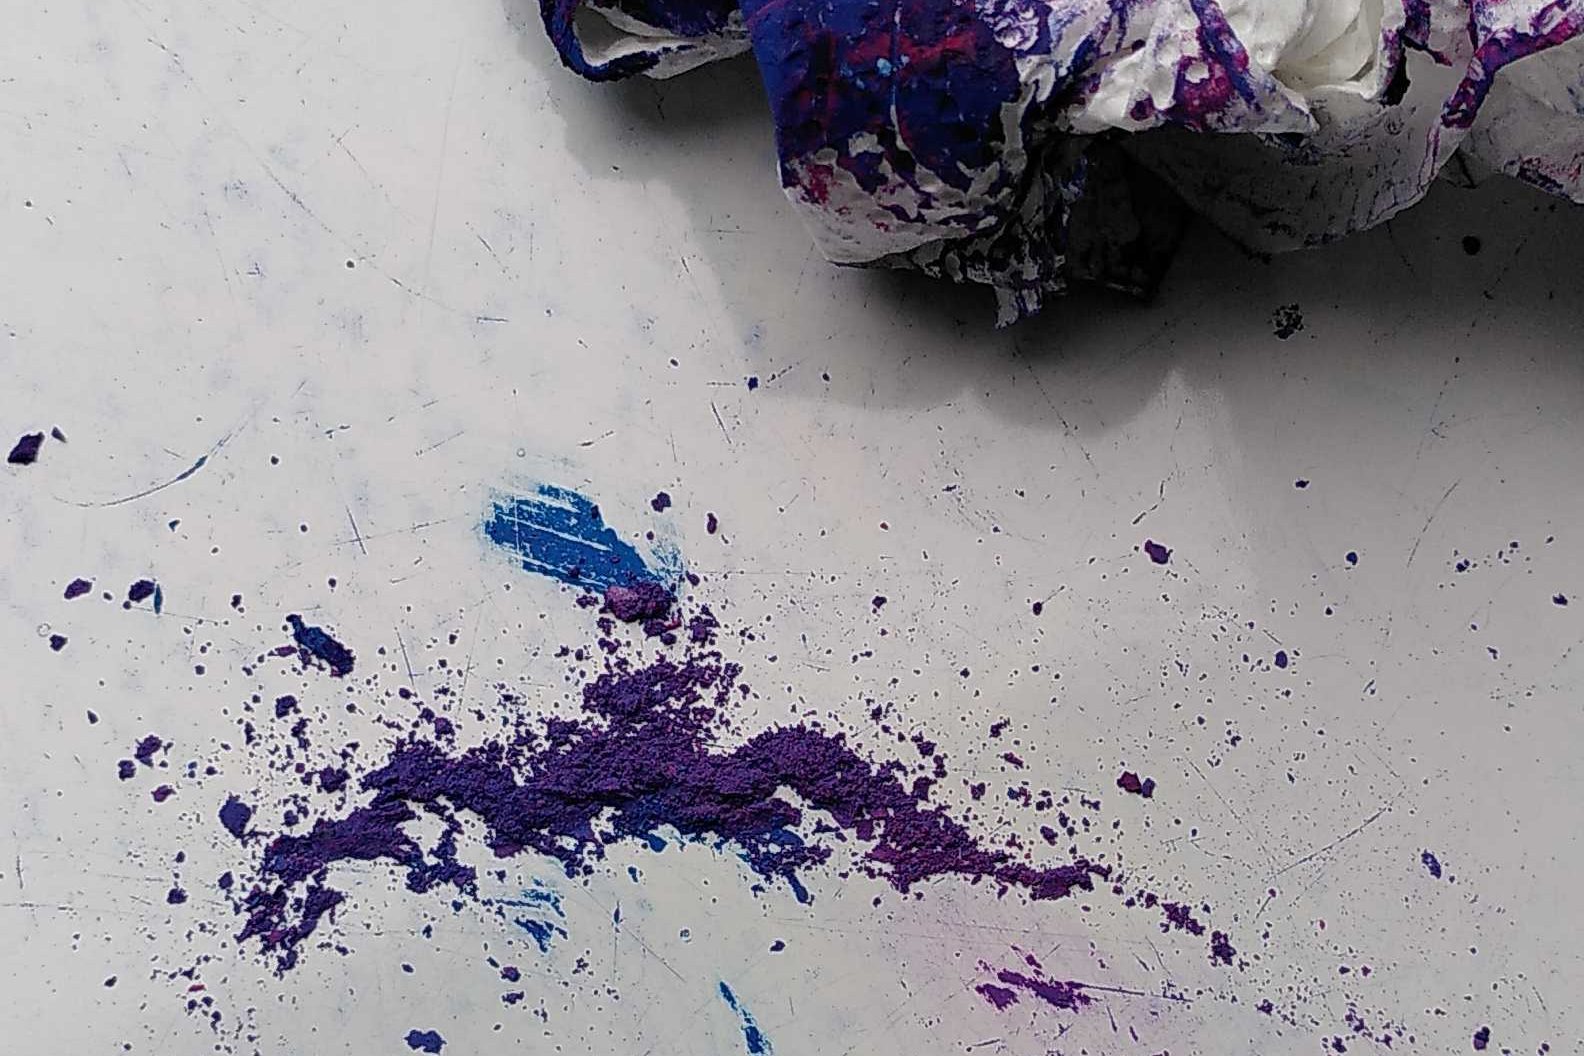
The Tuban brand provided a lot of blobs, so we decided on the other brand.
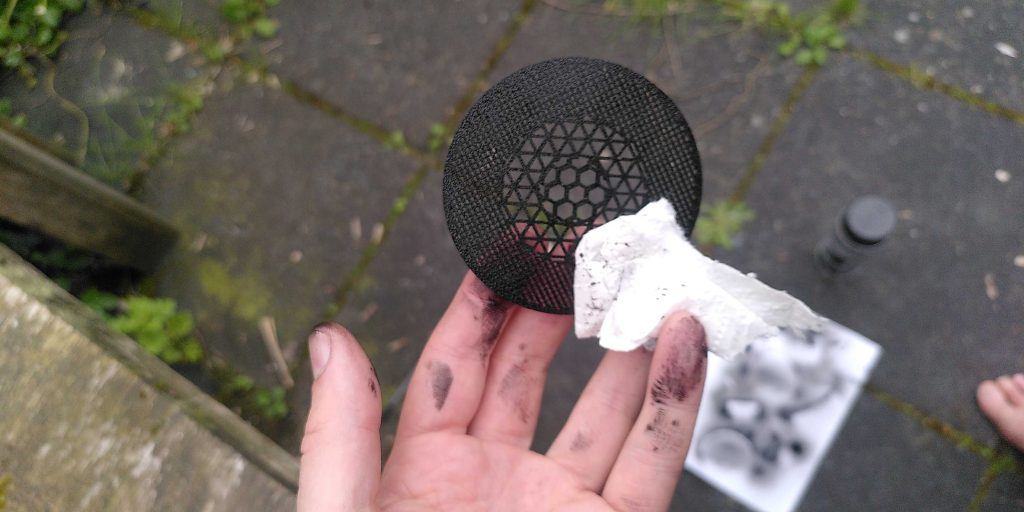
The chalk comes out immediately dry. And you can wipe it with a paper towel
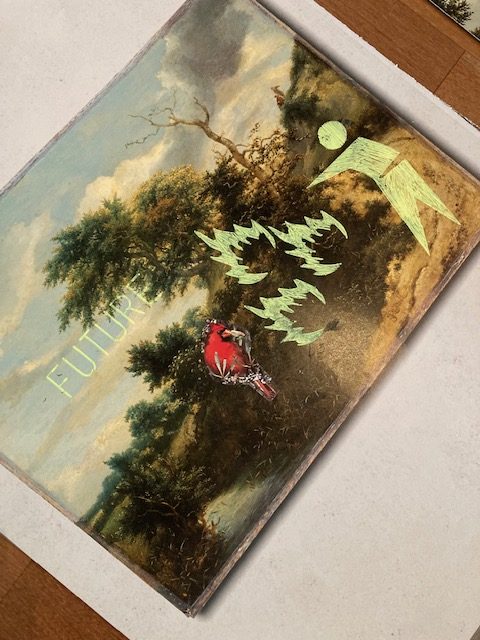
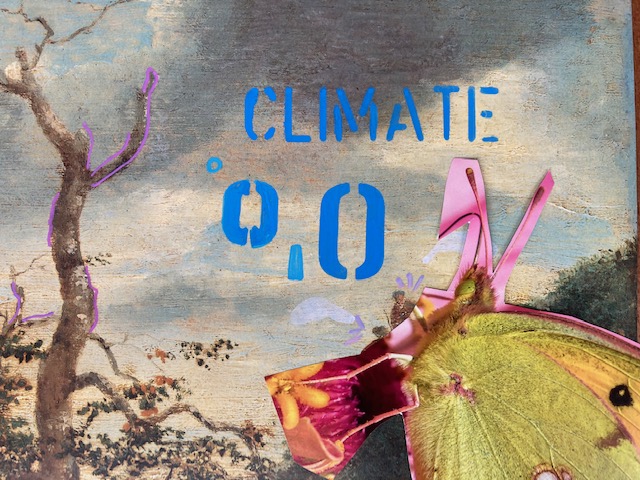
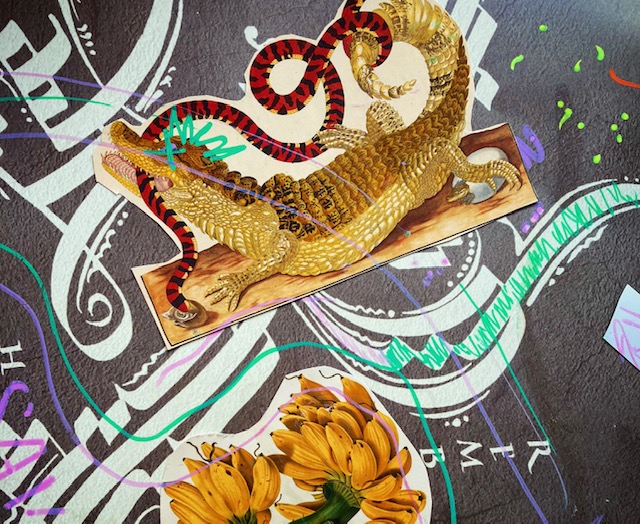
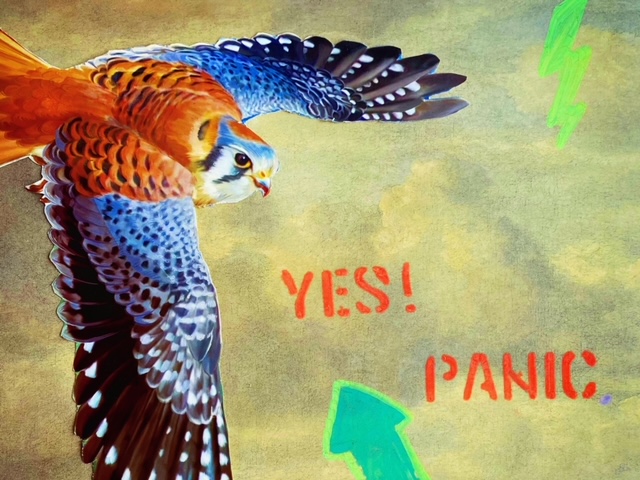
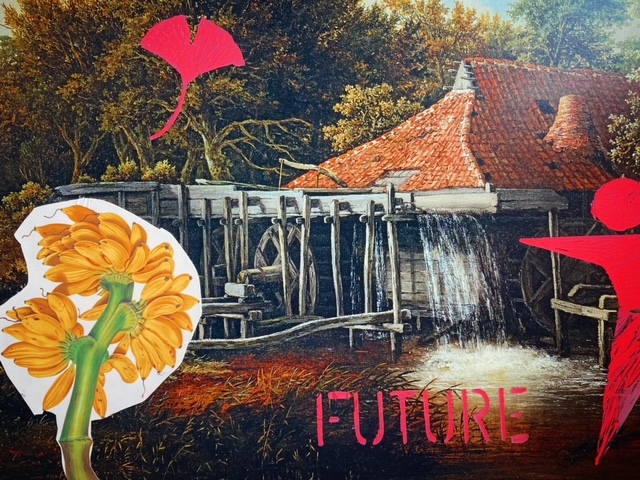
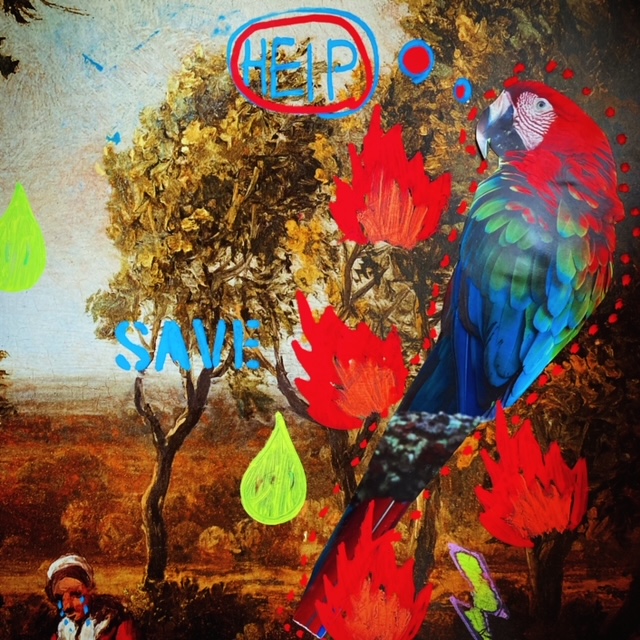
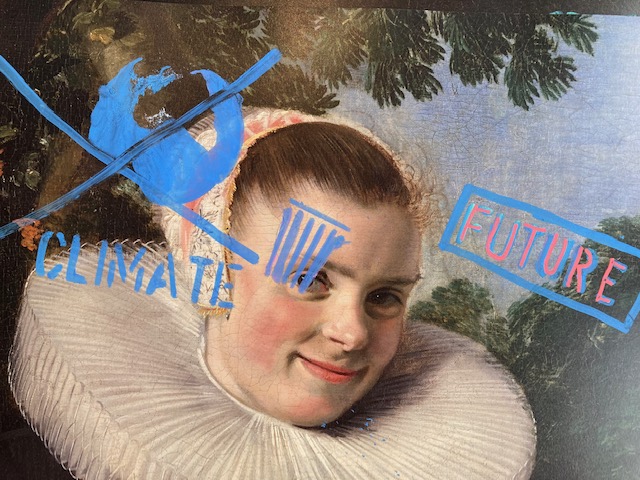
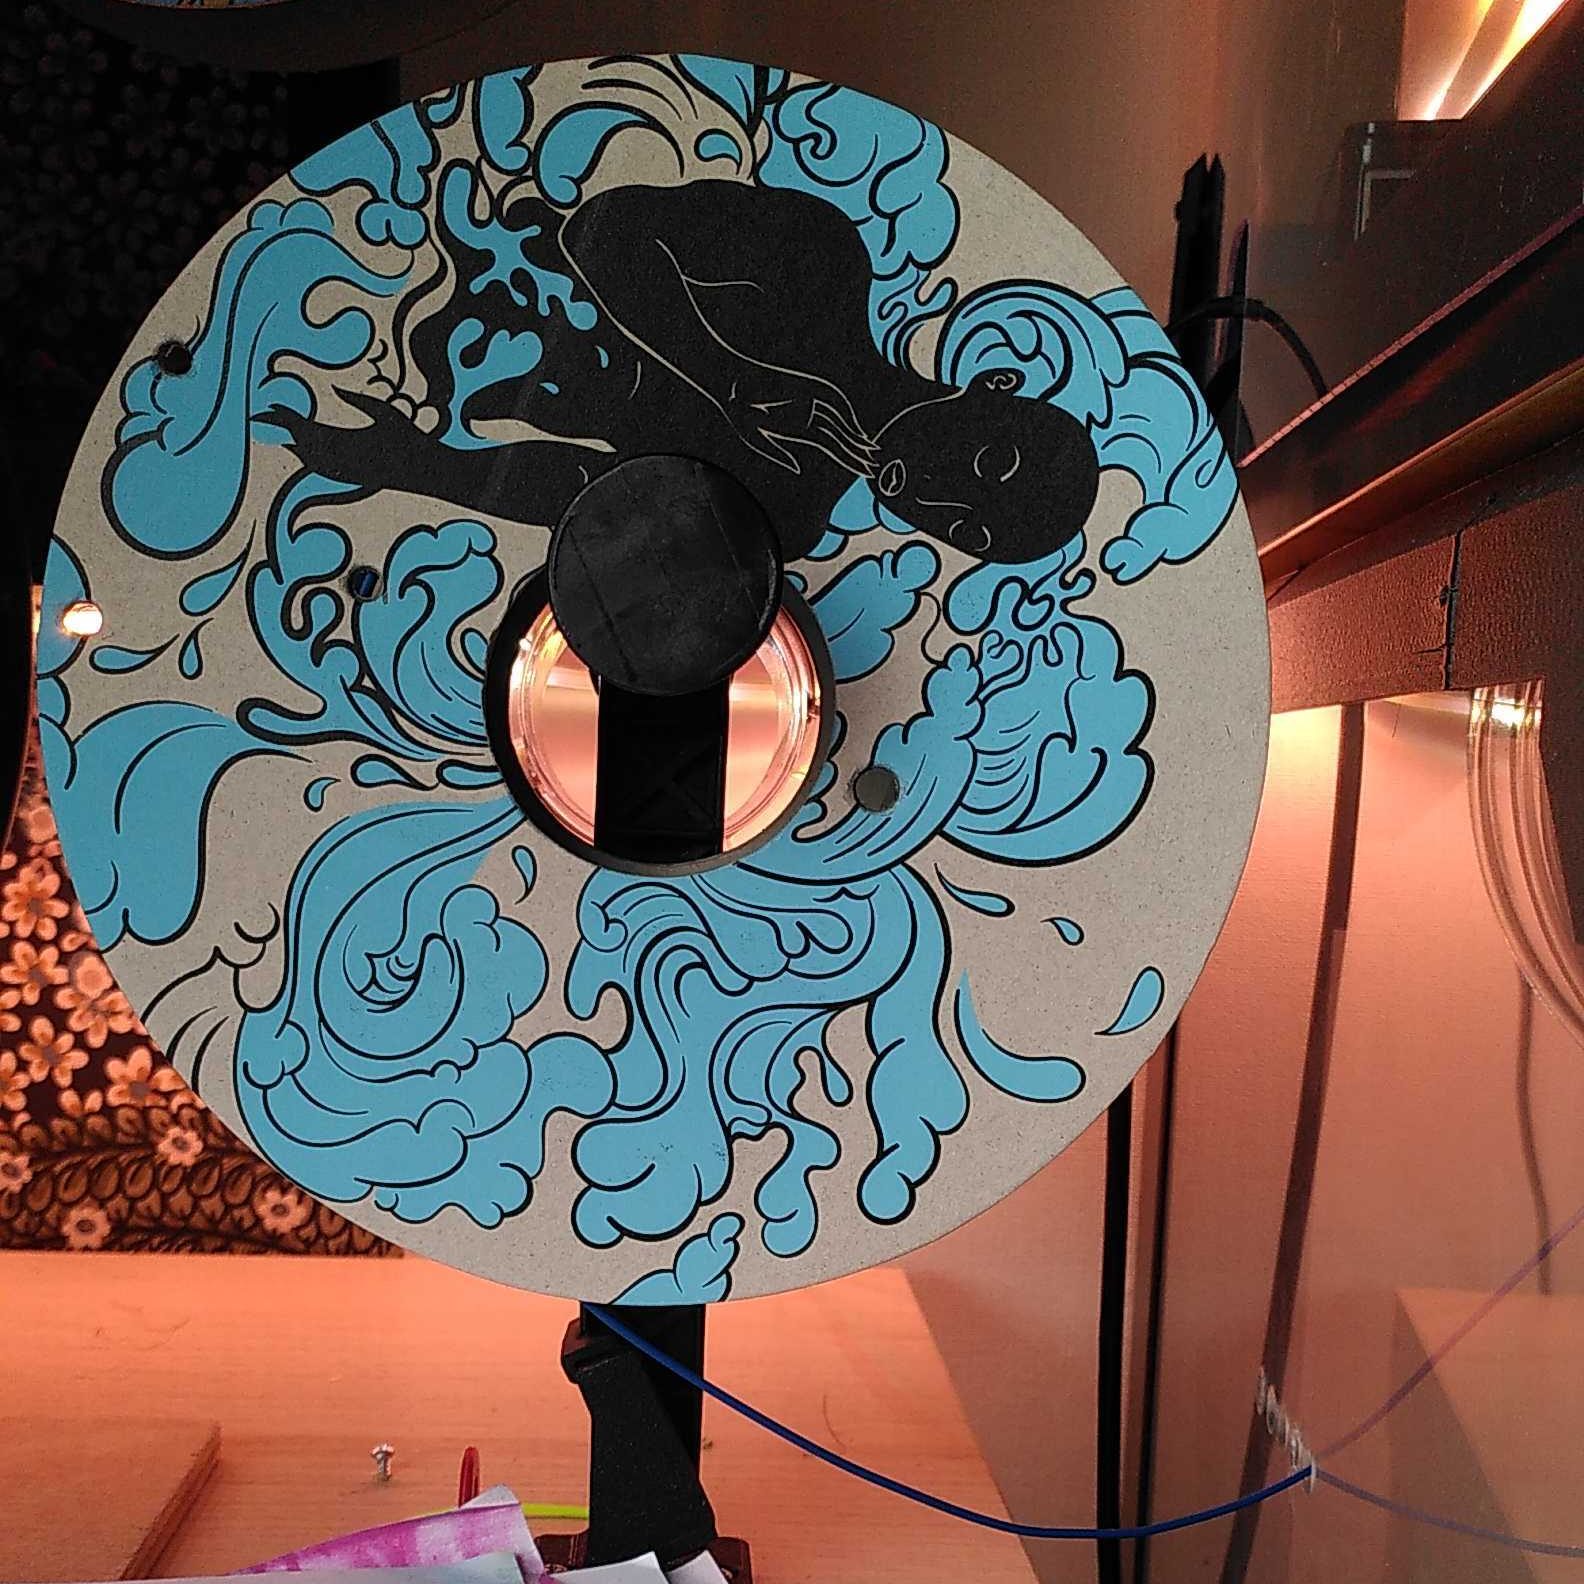
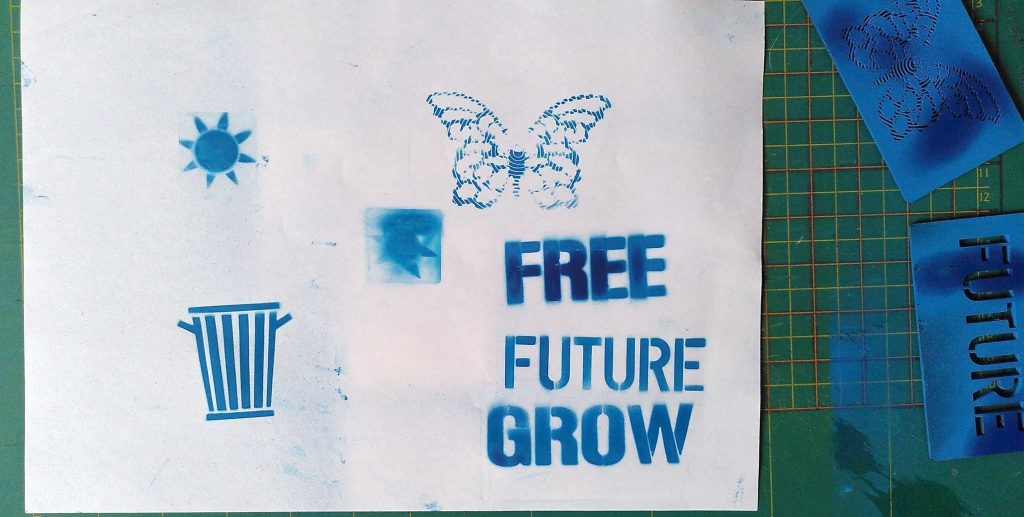
I made some prints and tried to create some art 🙂
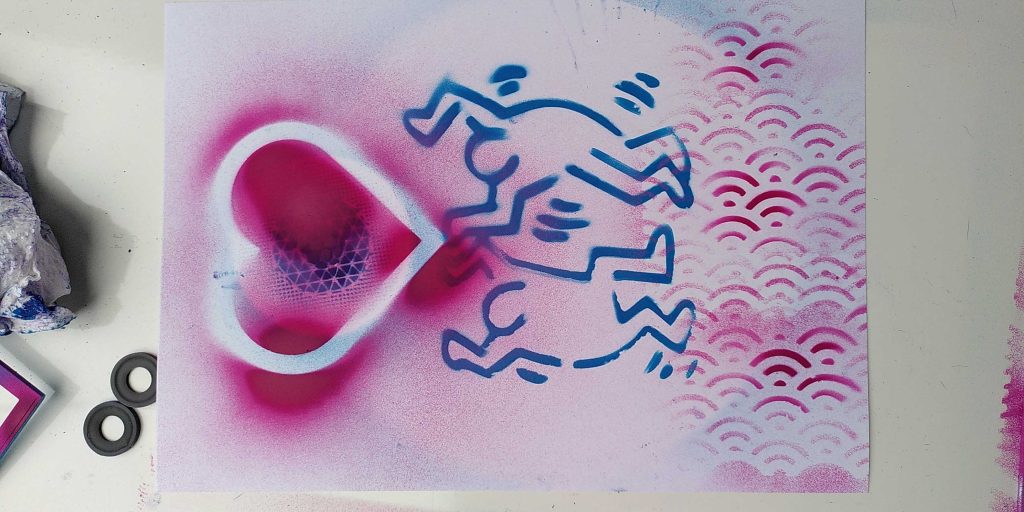
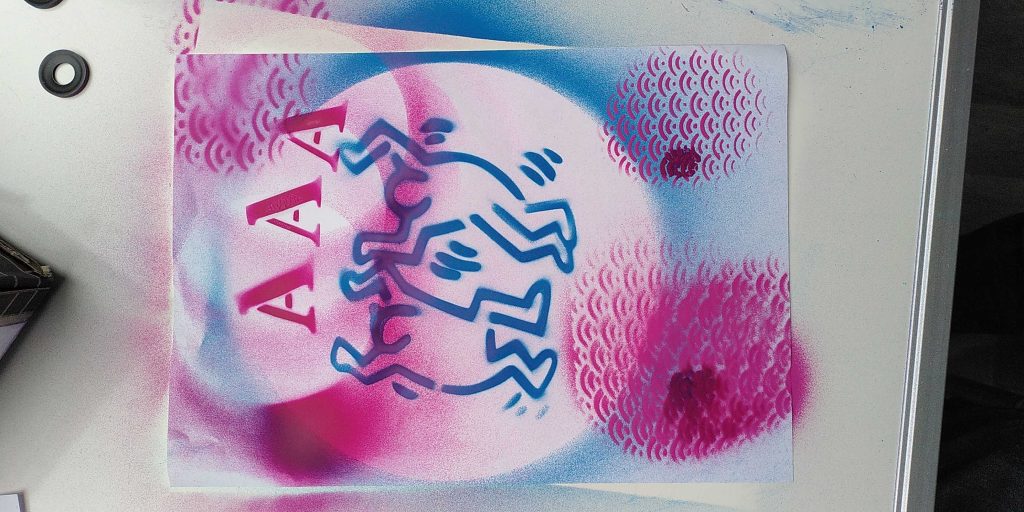
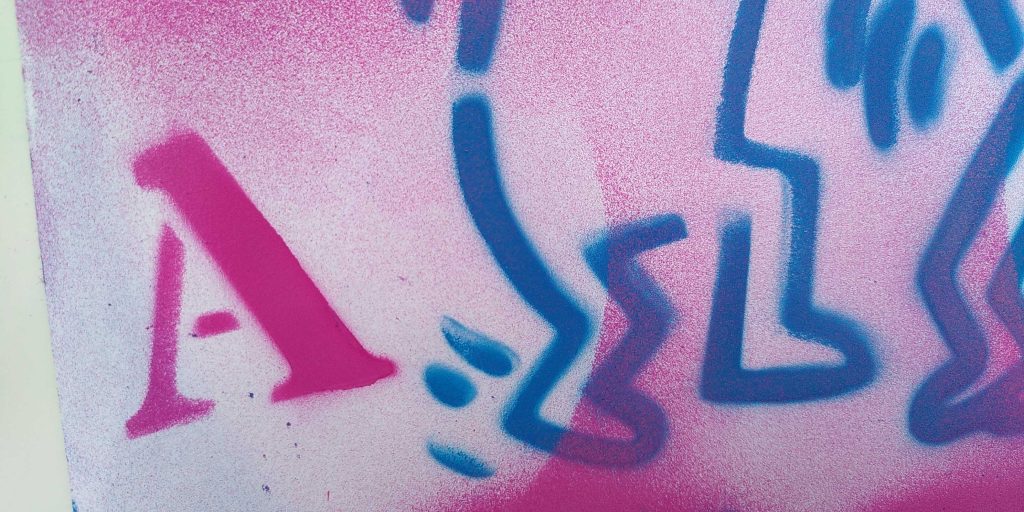
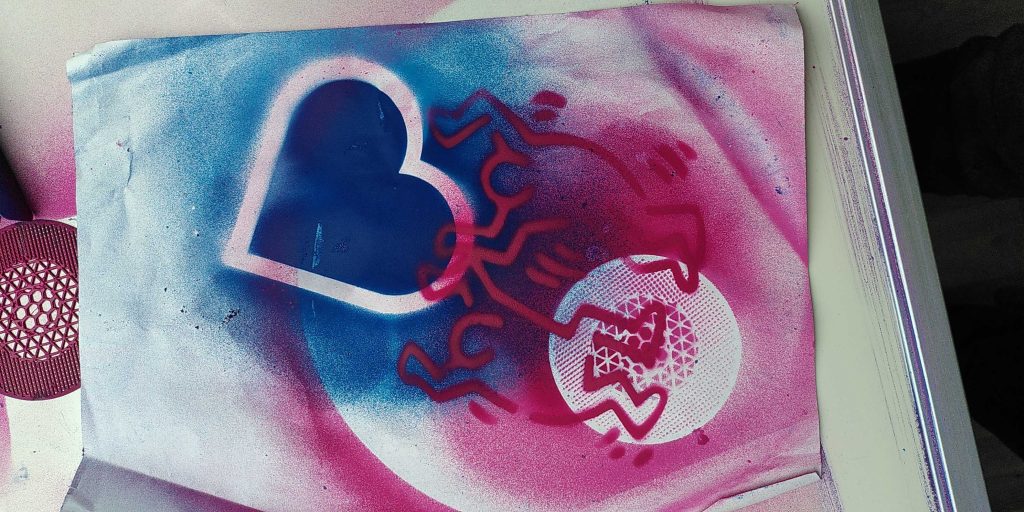
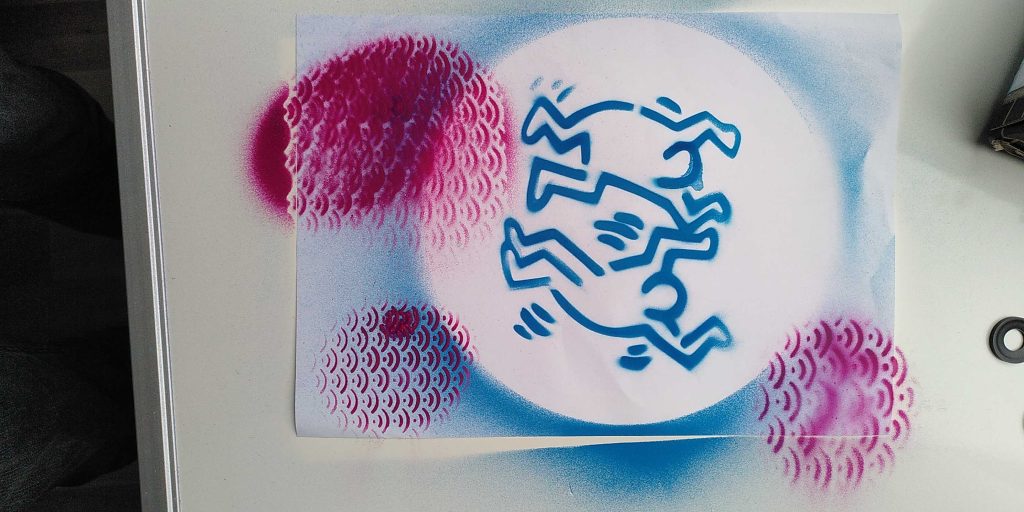
It works! It was quick to do and resulted in work that I quite liked. The templates provide building blocks that are easy to use, but it still leaves enough creativity to the user.
I shared it with my sister and the client who where happy with the overall look and progress.
Lessons learned:
- The small handle was enough, the stick wasn’t needed.
- Painting on a table made the most sense.
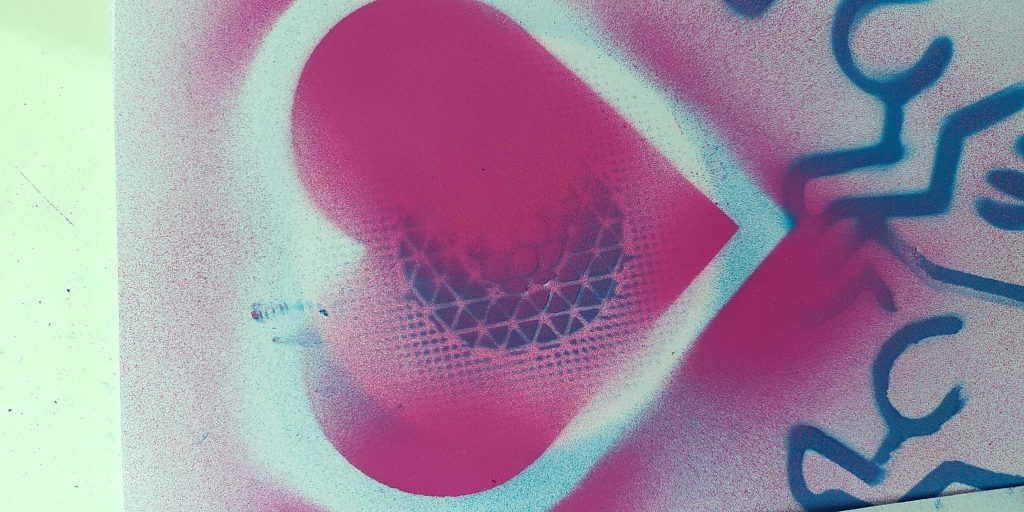
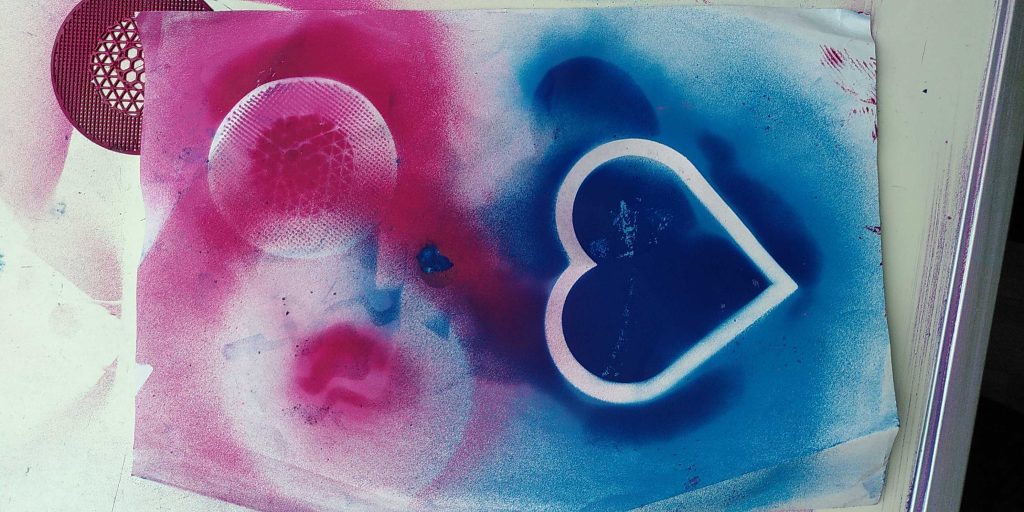
- Printing just the lines, like with the heart symbol, left you with a lot of paint on the paper. Since the paper was actually a collage, it was probably not desirable to focus too much on that.
- In order to cover off the paper, had to print a very large print. That is a waste of plastic and it takes a lot of time.
- The prints need to be cleaned between usage. This was fairly easy to do with plain cold water.

I experimented with a 3D printed cap, to make the spray less wide. That added blobs.
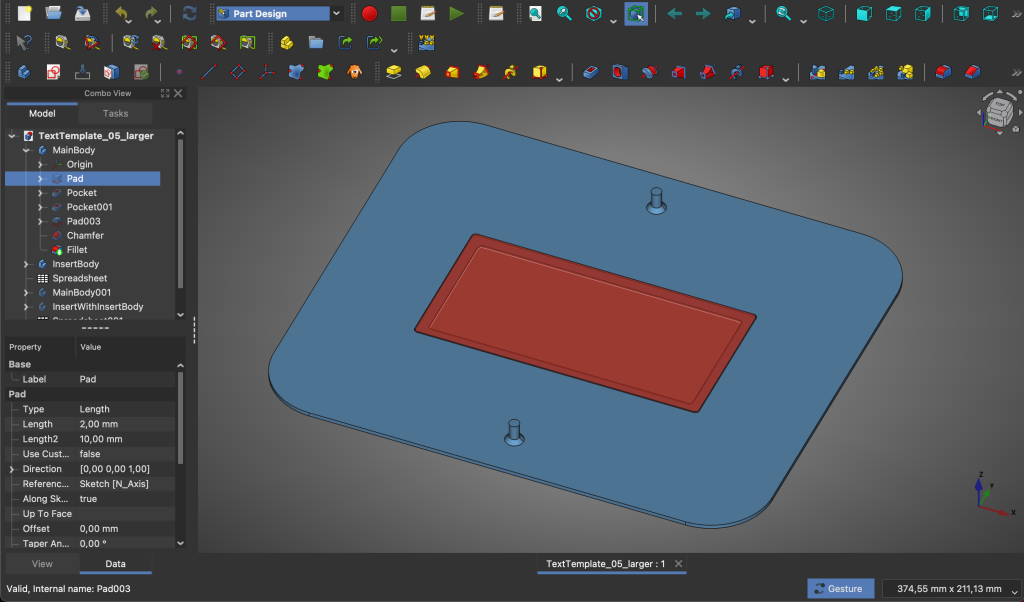
I wanted to tackle the problem of needing to cover a large area for the template. I came up with the idea to create a cover template with inserts and used FreeCAD to design it.
The main purpose of a ‘Slicer’ is to convert the 3D model into instructions for the 3D printer. I use Prusa Slicer.
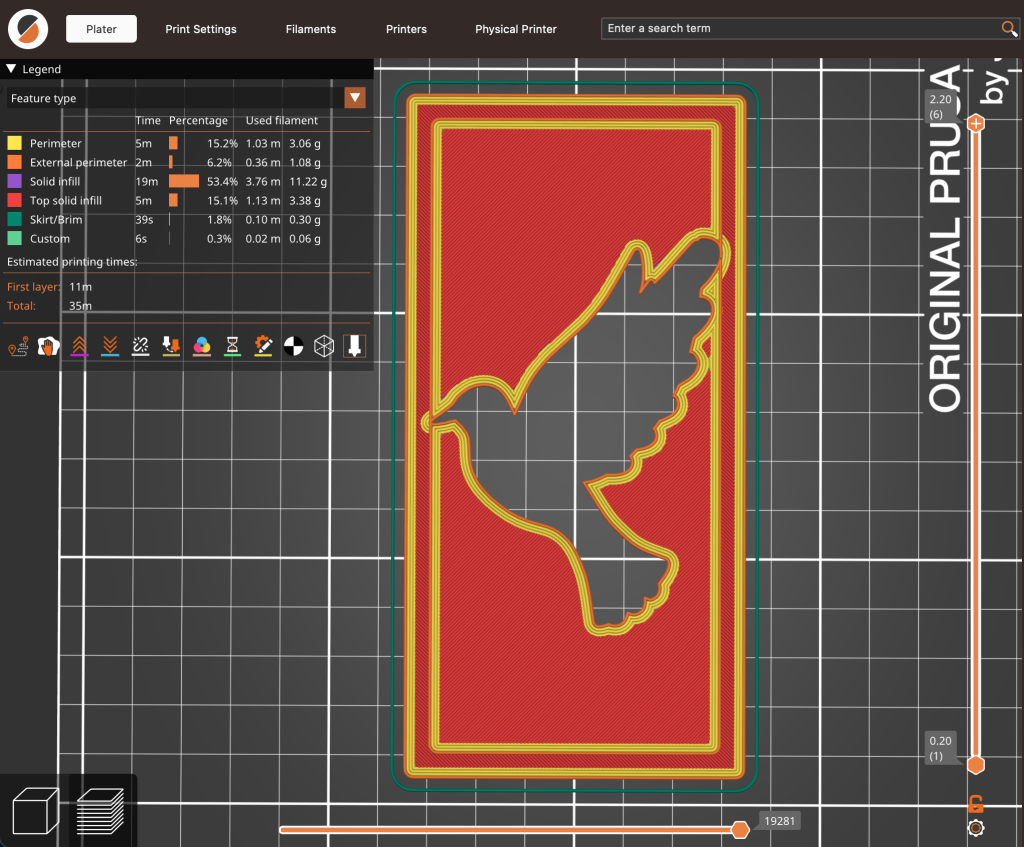
In the slicer I use the negative volume feature to cut out the shapes.
This allowed me to quickly create a lot of inserts to experiment with.
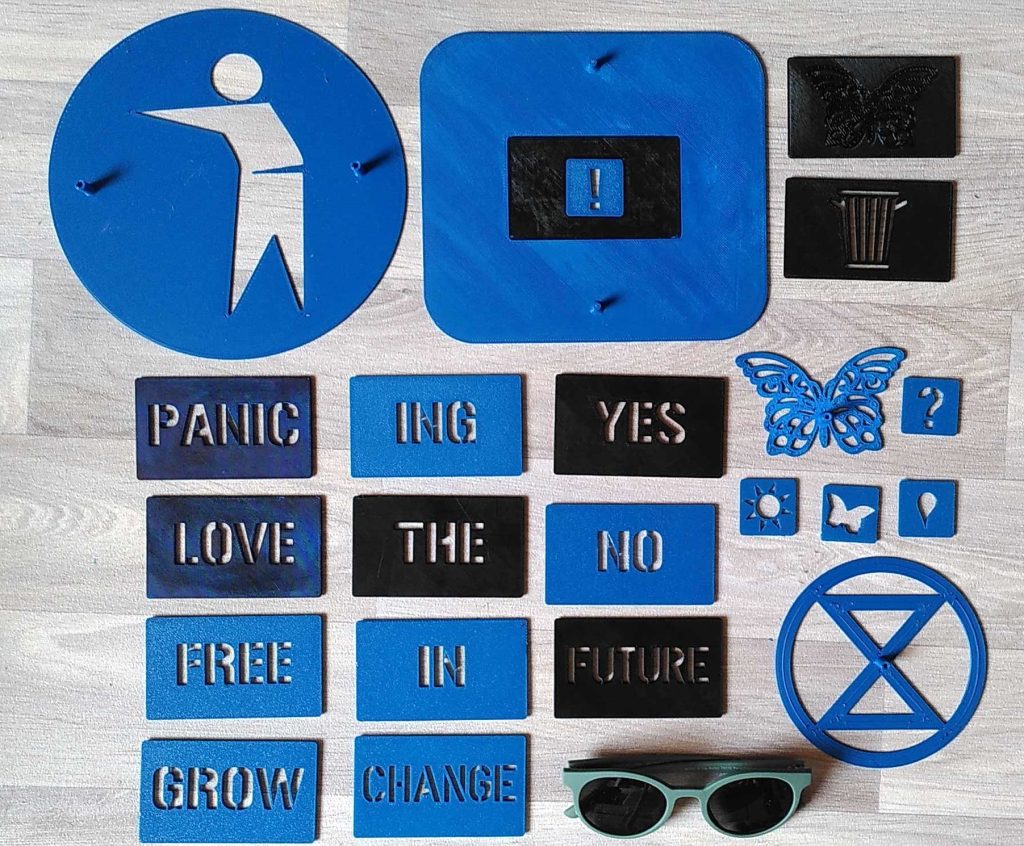
Sun glasses for scale. The idea of an insert inside an insert was not a success. The graffiti blew the smaller insert away.
One of the challenges for the shapes is that there should not be areas fully surrounded by lines. That area would just fall out of the template.
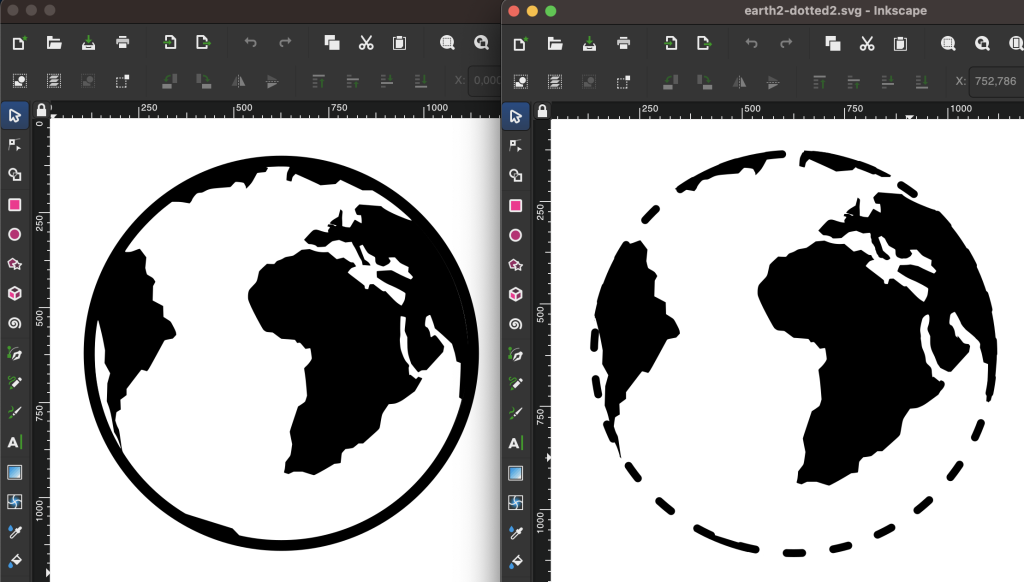
For the symbols like the globe, the starting point often came from svgsilh.com
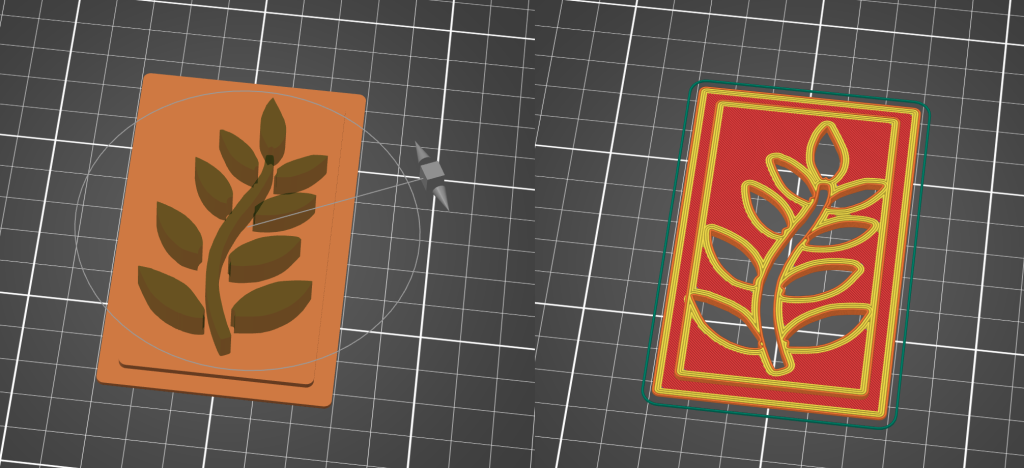
Another experiment in order to deal with the inner area problem, was to add a pattern to the lines. Like this:
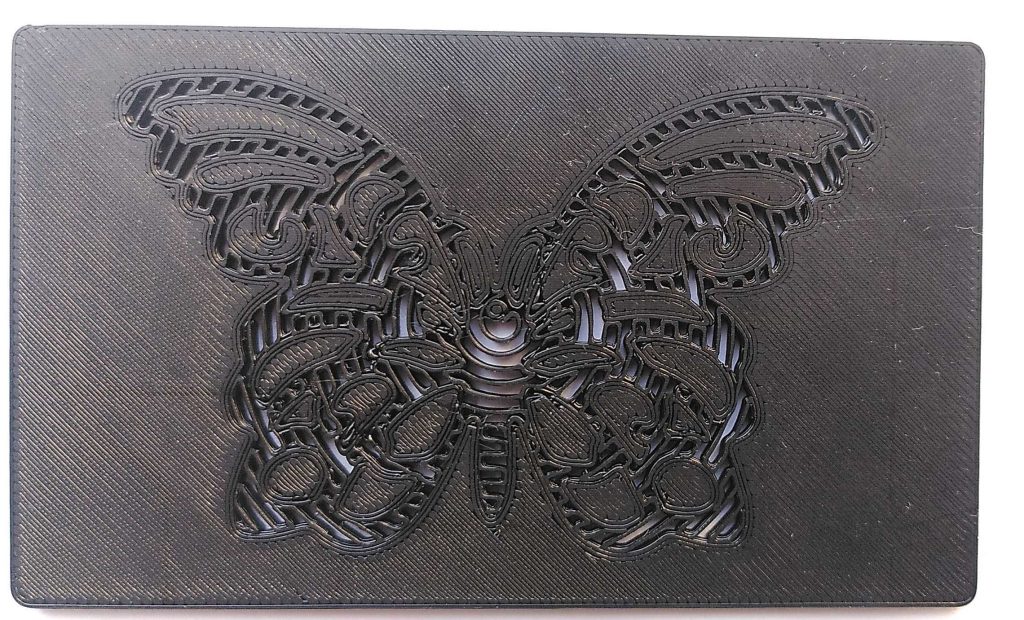
While this works. I think the lines are too subtle in the context of the collage.
By now it also became clear that besides chalk spray, chalk markers would be used. So the symbols should not have very thin lines or small patterns.
That’s it
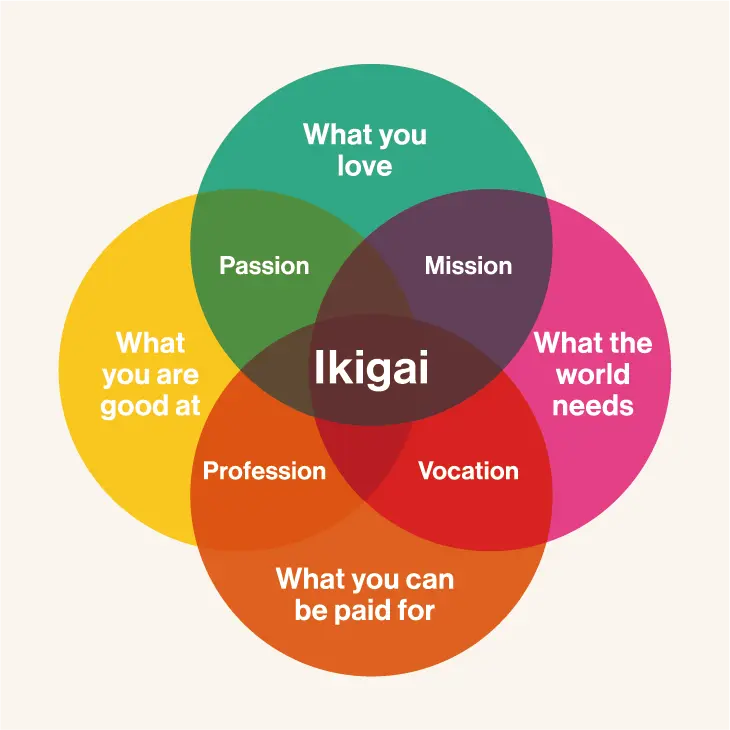
This project lands nicely in the center of this venn diagram for me.
It’s fun to have been able to collaborate with my sister, thanks Janneke!
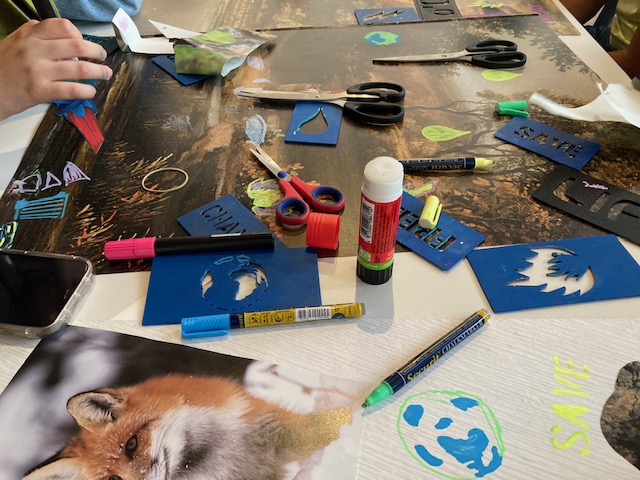
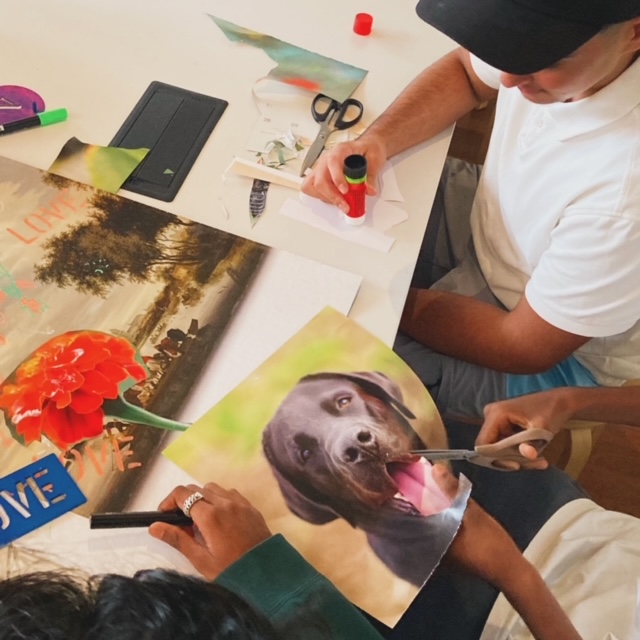
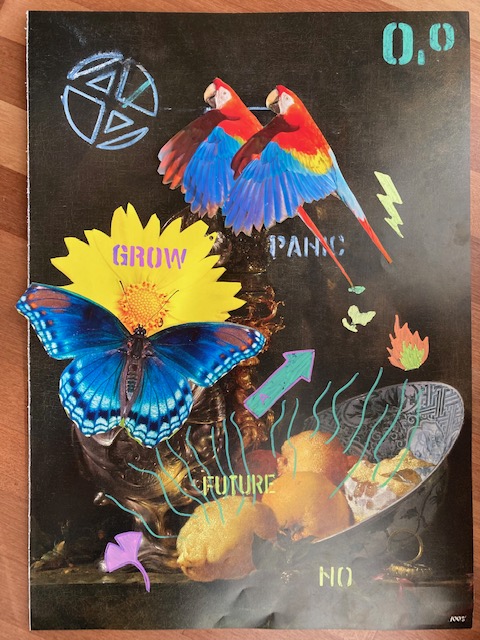
And I’ll leave you with some more pictures of the workshop itself.